Posted on Leave a comment

Magnolia Re-release Blog tour

Welcome to Magnolia Re-Release Blog Tour!!!In case you missed it, the Magnolia Fit and Flare Top & Dress has been updated to include size 00-30, have separate layers for every size, and now includes a Layered A0 Print and a Layered Projector file!!!

 When this pattern first released, I was pregnant with my littlest guy and preparing for our big move, so sewing was just not happening then. I always said I would get to it once we got settled. Here we are almost 5 years later, and I finally got it sewn! Not only did I sew it, I made four!

The updated pattern has all the options of the original, PLUS projector file and extended sizes! I haven’t jumped on the projector train quite yet, so I had to tape and cut my pattern out, but it was still a quick process. I had my pattern together and fabric cut out in about 30 minutes! For all 4, I opted for short sleeves as I live in California and it is quickly warming up here! I also chose the basic back vs the color blocked, as I tend to live in tees and jeans and wanted something I would actually wear after pictures. I cut my back on the fold for all of them, which makes this a super quick sew!

Now lets get to the tops! I used 4 different fabrics: a brushed poly, a textured sweater knit, a cotton knit, and a mystery knit (I think it is a poly blend) – all from my stash! This gives a great visual on how different fabrics act with this pattern. All have the same options with the exception of the light pink sweater knit, which is cut on the longer shirt tail length.

As you can see, they all hang a tad different than each other. I wore the navy floral to an event I was at a couple weeks ago, and people could not believe I had sewn it the night before! It is that quick of a sew!

Here is a side view of each top!

I hope this encourages you to sew up this wonderful pattern Don’t wait 5 years like I did! I will be making more of these to wear all summer long! You can get your copy here for only $3 (for a limited time!)
What fabric are you excited to use?

*Hyperlinks may contain affiliate links. These links allow the pattern designer to see where sales are generated, and I receive a small amount, which helps me keep this blog going*

Happy Sewing!

Posted on 2 Comments

Sew Yourself Some Love with Winter Wear Designs

I haven’t had a chance to blog about my makes in while! I’m happy to be returning with another Sew Yourself some Love post!

When Suzanne first showed the sketches for this set, I was pretty sure it wasn’t something I would like to sew or that I would be sharing photos of on my blog/page! But, here we are!
If the past year has taught me anything, it is that I need to take care of ME if I want to be able to take care of everyone else. Easier said and done when we are in the middle of a pandemic with everyone home 24/7. I also homeschool (this is my 8th year!) and run a small business. I really wasn’t taking care of me, so when I looked in the mirror, I only saw the bad (in my eyes), rather then the person I was. I saw the number on the scale, the mom pouch belly, etc…
Then one day, I decided I had enough! I turned my negatives into positives. The mom pouch belly is the result of bring THREE awesome kids into this world. That number on the scale- it shows me how much muscle I am gaining because while it hasn’t changed much, my clothes have…I’m down a while size in both tops and pants! There is positives for every negative thought we see…IF we are willing to look. I decided that I should be proud of myself, so I made not one but two of the new Y-back sets!

I did a two piece top and shorts. Both are a poly type mystery fabric from a mystery box a couple years ago. I started out with a size Large based on my measurements, and ended up having to take it in just a touch along the sides to get the fit I liked…Thankfully, the alterations within the pattern made that easy!

My second one, I decided to try the longer slip. This is again a mystery box fabric….likely another poly blend! Based off of how the first set was, I decided to size down to a medium for my second set. The second round of using the slides went much quicker.

Now, I have two new PJ sets, and my dear loving husband even asked where I bought them…even though I showed them to him multiple times while sewing!

Here are all the details of the new Y-back Sleep Set:
This sleep set is designed for woven fabrics.  With classic lines, these patterns can be sewn up to create simple looks or easily dressed up with lace details.  The delicate Y back can be created with adjustable straps using bra slides or a simple tie back feature.  The Slip features bust darts for shaping.  The Shorts sit just above the high hip (not at the natural waist).  There are two rise options on the shorts:  Low Front or Straight Front.  The Low Front has full coverage in the rear and then angles down to the side seam and curves down in front.  The Straight Front has the same full coverage for the bum, but then does not angle down as much at the side seam and comes straight across the front for fuller front coverage.

Slip Options:

  • Crop, Petite, Regular, or Diagonal Lace Hem Top Options
  • Above Knee Sleep Dress Length

Shorts Options:

  • Regular Hem
  • Lace Hem
  • Triangle Side Inserts
  • Low Front Rise or Straight Front Rise (shorts sit at high hip, not natural waist)

Make sure to get your copy here for yourself for just $6.50!!!!!

Happy Sewing!

Larissa

Posted on Leave a comment

Amuse Boho $3 Thursday!

I do participate in affiliate programs, so if you click a link in my post, I may receive a small percentage of the sales! These help cover my costs for materials and the occasional cup of coffee!


As usual, I let her chose her own fabrics. She once again did not disappoint! this fabric fits her perfectly. I spent about an hour one night taping the pattern together and cutting fabric. The following day, it took me about another 45-60 minutes to sew up the dress. She opted for a straight hem, mini length dress, with short sleeves. Thankfully, she is on the shorter side, so it hits a bit more above the knee than mini length on her.

She chose a stretch lace for the yoke, and I did two layers. Next time, I will use a solid for the inner layer, as even with two layers, the lace was still pretty see through. The main fabric is a knit that I had in my stash. I opted for a quick knit neckband. She loves her new dress and even wore it to school yesterday. Random kids would walk by and tell her that they liked her dress, so I am calling this one a win!

We also wanted to see what it looked like on an adult, and our neighbor happened to come over while we were doing pictures. the length is more mini on her for sure!

This pattern has:

  • Scoop Neck
  • Front Yoke
  • Optional Back Yoke
  • Short Sleeve or 3/4 Sleeve with elastic hem.
  • Dress: Mini, above knee, or knee length with either straight or shirttail hem.
  • Top or Tunic length  with Shirt tail Hem
Posted on 1 Comment

Winter Wear Designs Amuse Boho Reblog

I do participate in affiliate programs, so if you click a link in my post, I may receive a small percentage of the sales! These help cover my costs for materials and the occasional cup of coffee!

I am re-sharing some of my favorite makes this week! This was the Amuse Boho top and Dress. I need to make her a new one as she has outgrown this one already!

I have been on a sewing hiatus for about a year now! Sometimes, life just takes over and boy did it! In the last year, we have welcomed our third child, moved to a new city, and bought a house. These put my sewing into boxes for months. Then, I couldn’t find the motivation (or time) to work on unpacking it all with my 4 yr old and a newborn at home. Then, Jody started asking about what new patterns Suzanne was releasing, as she missed testing them (we have tested many of her ladies patterns!). Then Suzanne announced the homecoming tour for this pattern, and I knew Jody would love it! This was the motivation I needed!

As usual, I let her chose her own fabrics. She once again did not disappoint! this fabric fits her perfectly. I spent about an hour one night taping the pattern together and cutting fabric. The following day, it took me about another 45-60 minutes to sew up the dress. She opted for a straight hem, mini length dress, with short sleeves. Thankfully, she is on the shorter side, so it hits a bit more above the knee than mini length on her.

She chose a stretch lace for the yoke, and I did two layers. Next time, I will use a solid for the inner layer, as even with two layers, the lace was still pretty see through. The main fabric is a knit that I had in my stash. I opted for a quick knit neckband. She loves her new dress and even wore it to school yesterday. Random kids would walk by and tell her that they liked her dress, so I am calling this one a win!

We also wanted to see what it looked like on an adult, and our neighbor happened to come over while we were doing pictures. the length is more mini on her for sure!

This pattern has:

  • Scoop Neck
  • Front Yoke
  • Optional Back Yoke
  • Short Sleeve or 3/4 Sleeve with elastic hem.
  • Dress: Mini, above knee, or knee length with either straight or shirttail hem.
  • Top or Tunic length  with Shirt tail Hem
Posted on 1 Comment

Poolside Blog Tour with Winter Wear Designs

Everyone knows how much my teen loves Winter Wear Designs *patterns! Whenever she realizes that she needs any clothes, she always asks me before anything else “Mom, does Suzanne have a pattern for ______?” If the answer is no, she either sketches up a pic of what she wants and shares it with Suzanne and myself, or we look at patterns that can be modified to fit the bill.

A few years ago, we were at a fabric store (hancock’s, I think) and she picked out this fabric with the purpose of a swim cover up. I of course have lagged and never made it! I had yet to find a pattern that I was in love with. When Suzanne announced the poolside tour, I knew it was time to redeem myself and make her that cover up! We looked through patterns, chatted with Suzanne, and still nothing was really exciting me. Then we were at Great America (theme park/water park nearby) last week and it dawned on me as she was wearing her swimsuit top under a tee. They require a shirt over swimsuits for all the rides (water or not), but nobody likes to walk around in a wet tee!


I printed, cut, and sewed the tidewater tee* in less than an hour! She loves it and it is perfect for over her bikini top! It also makes her dad happy that she is covered! I did size up for a looser fit (at least I thought I did, she has asked for more tidewaters that she can wear to school in the fall and this fit is pretty dang good on her! Also, because the fabric is a lacy/open weave, I only cut one back yoke.


And of course, no photo shoot is complete with this one if she doesn’t get a few goofy poses in!


Don’t forget to hit all the stops on the tour to see what they sewed up for at the pool!


Before you do though….

Have you entered to win the GRAND PRIZE giveaway sponsored by Boho Fabrics???  The entry is super simple over in the WWD Face Book Group, so head HERE and enter to win patterns from me and a $50 gift card from Boho Fabrics!!!

Pull up a lounge chair and a cold drink, and don’t miss a single stop on the Poolside Blog Tour:

7/16
Jackie Burney for Winter Wear Designs*
Meriel of Elli and Nels
7/17
7/18
7/19
Diane of Sewing With D
7/20
Livia of Liviality
Patricia of Sew Far North
All hyperlinks followed by a * may contain an affiliate link. When you use my link, it allows the designer to see where sales are coming from, and I get a small commission on all sales. These commissions allow me to continue blogging and sharing new creations with you


Posted on 1 Comment

Romp On! with Winter Wear Designs


If you follow me even a little, you know both Jody and myself are both big fans of Winter Wear Designs*. When Suzanne first came out with her rompers, neither my daughter nor myself were in love. Neither of us were interested in them and so I didn’t give it much thought. Last summer, my daughter started wearing a couple RTW rompers but quickly got irritated that they didn’t fit quite right. Again, I didnt think much of it. Then, Suzanne posted about this month being all about the rompers, and Jody said she “had to have one”! I figured that I would grab some knit off my shelves (we all know I have PLENTY of fabric!), sew one up, she would wear it once and then it would sit in her closet like most items she requests these days. Then, I took a trip to the fabric store (to find some cute knits for the boys) and came across this beautiful and fun unicorn fabric. It wasn’t too old looking nor was it babyish either. I knew Jody would love it! I was beyond right! She has already worn her new romper to school and has requested more (and some fun mods for this one as well!!).

I chose the Boho Breeze Romper as Jody is very modest and prefers all straps and fasteners not be visible, so this works perfect! I did shorten the neckband elastic by about four inches (directions included in the pattern) allowing it to sit on her shoulders, making it a school appropriate outfit!

Now on to the pattern details:

  • Off shoulder neck line (can be pulled up on the shoulder for a square neck look)
  • Optional Straps
  • Shorts
  • Gathered skirt (above knee or maxi length)
  • Pockets (front pockets for shorts or inseam pockets for dress)
  • Elastic waist
  • Short sleeve or 3/4 length sleeve

For Jody’s romper, we went with the shorts and short sleeves as we are heading into summer. She loves that she has pockets- teens these days cant be far from that phone! I am pretty sure she is going to live in these all summer long! I better get sewing!

If you want to get your copy, it is on sale now for 20% off with the code ROMPON (code is good on all romper patterns) over on the Winter Wear Designs Website*


Don’t miss any of the spectacular rompers
 on the Romp On Tour!!!
 
5/28
5/29
5/30
 
5/31
 
6/1
All hyperlinks followed by a * may contain an affiliate link. When you use my link, it allows the designer to see where sales are coming from, and I get a small commision on all sales. These commissions allow me to continue blogging and sharing new creations with you!
Posted on 2 Comments

Top it Off Blog Tour

Here we are! Back for another Winter Wear Designs* Blog tour! One of the events that Suzanne is doing this year is revamping older patterns to include new features-like layers that have become more of an industry standard-and update the covers. With each one, she is having a blog tour! What does that mean for someone like me that already owns every single pattern? I get to sew them up again! Except in this case, I had not made one of the La Croix before, mainly because when it came out, I didn’t think it would be flattering on me. When this tour started, I figured that I would sew one up for Jody, like I usually do since the girl can wear anything and make it look good!

Then, I saw a picture of a shirt on a Facebook post in a fabric group and inspiration hit! After that, I knew it was going to be a shirt for me! As I started debating fabrics, I had to stray a bit away from the recommended fabrics in the pattern to get the look I was going for. I ended up choosing a gorgeous slinky teal sweater knit that I received in my last knit mystery box from Boho Fabrics. Then, I had to make some modifications to the construction….ALWAYS FUN!

First, I didn’t gather the sides, as I needed a flat bottom to attach a band. Yep, I used the band from the Banded Tee * and put a band around the bottom. I cut my band at 8″ rather than the 7″ to make it a bit wider, then I added a couple inches to the width as the La Croix is a bit wider than the Banded tee. I opted for a sleeveless top, that will work under one of the many cardigans that I have or need to make for this summer. I followed the pattern for all the construction, until hemming the bottom, then I added my band, same as I would on the banded tee. I made sure I had enough band to stretch to fit to pull in the bottom for a flowy bottom on my shirt.

*denoted affiliate links. If you use these links to purchase from Winter Wear Designs, I receive a small commission on the order. I only share links to products I have tried and loved, so never fear that I am just trying to sell you something! I do not see any of your personal information.


Now…On to the pictures!


A HUGE thank you to Simply By Ti Fabrics for sponsoring this blog tour and providing the fabric prize for the blog tour. Speaking of fabric prize…Do you want to win $20 GC from Simply By Ti Fabrics and 2 patterns of choice from WWD???? Be sure to jump over to the Winter Wear Designs Fun group  and enter to win! Be sure to share your creations as well!


Happy Sewing!

Check out all the Stops on the Blog Tour:

3/26
Jessica of Jot Designs USA
3/27
3/28
Ilse of Sew Sew Ilse
Patricia of Sew Far North
3/29
Livia of Liviality
Mari of MNW Sews
3/30
Lisa Dawson guest posting at Winter Wear Designs
Posted on 4 Comments

Bring on the Blouse (and the self love)!

*Denotes Affiliate link
The ‘Bring on the Blouse Blog Tour’ is a celebration of the Omega* and Classic Shell Patterns*.  These are both patterns designed for woven apparel fabrics and they are divine in rayon blends and other drapey woven fabrications.  So strap in because this week will be filled with inspiration for both patterns.  Don’t own these beauties???  Save 20% and grab the Omega* for just $7.95 this week during the tour.  And get the Classic Shell* for just $5!!!
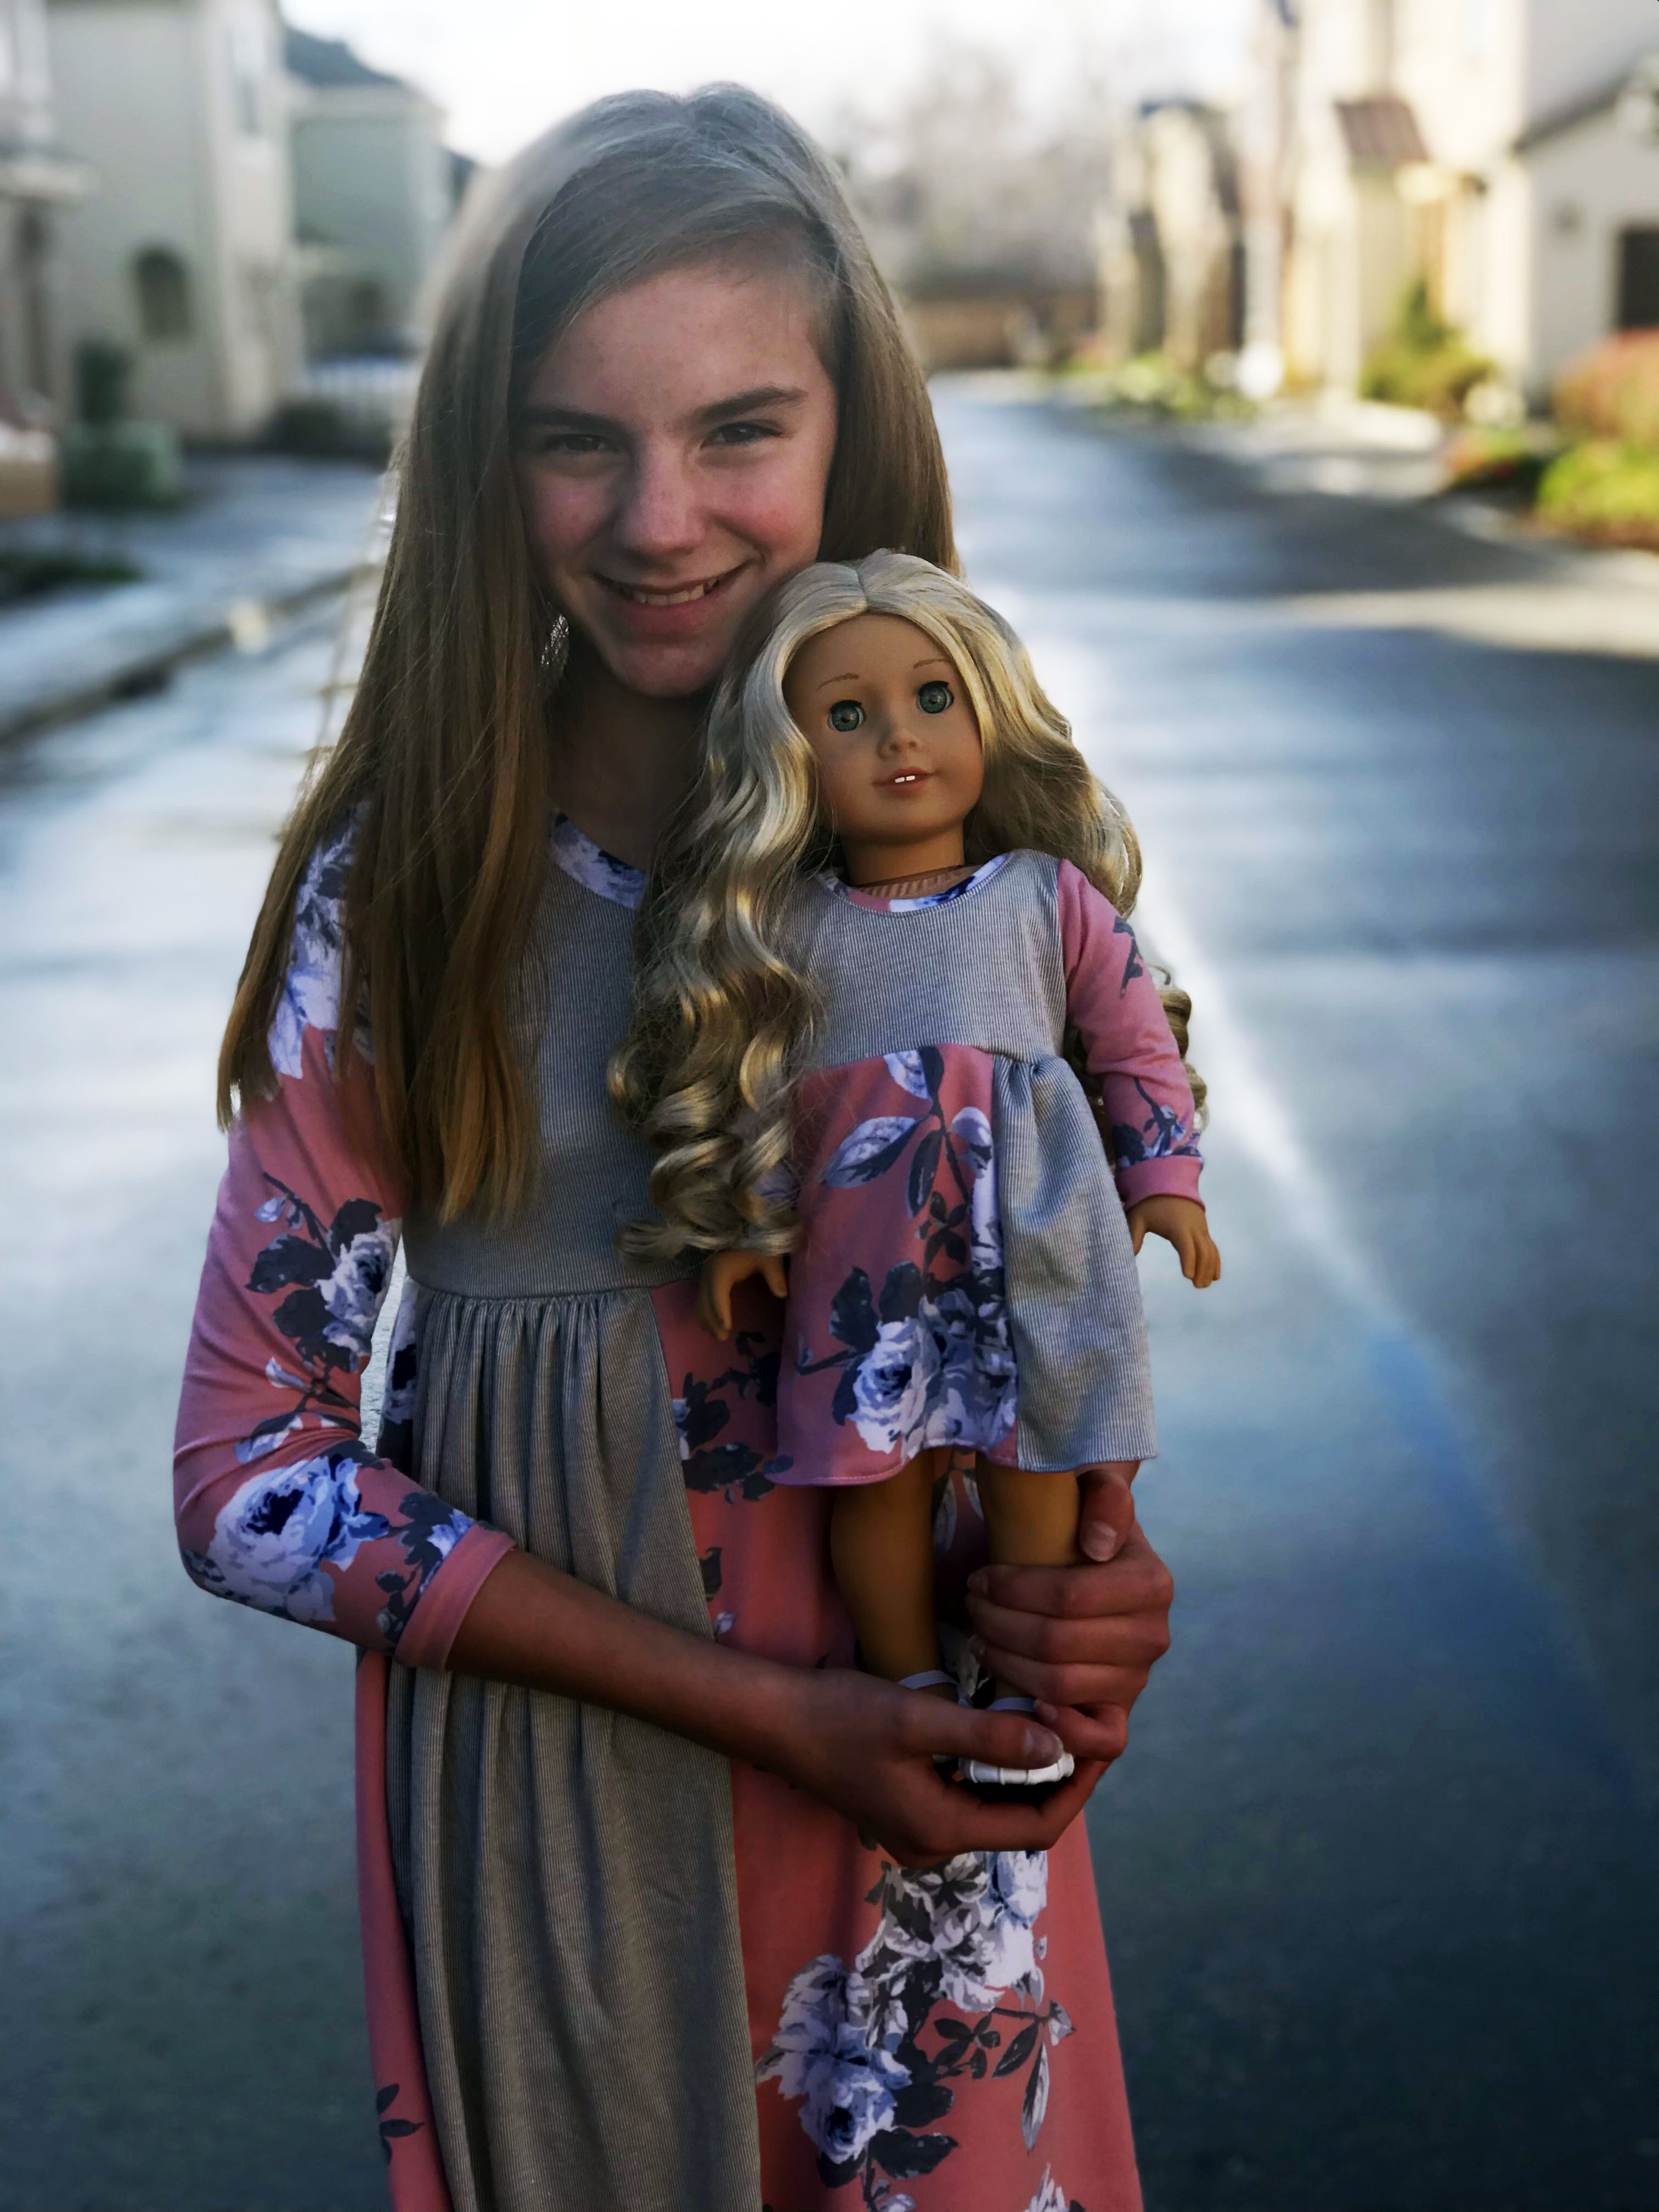
I have been sewing consistently for quite a few years now, and for myself for the past 3 or 4 years. I started out with simple things like skirts. Mostly things that didn’t need too many alterations to fit okay. Then I started making dresses and tops, not because I planned on wearing them often, but because it was what was being tested by my favorite designers, or they needed a review for a new pattern. I love the designs, they just weren’t practical for my daily life. They were also ill fitting because I didn’t know HOW to tailor them to MY body. They were wearable, cute, and exactly what the pattern told me to make. Where did they end up? They all went to hang in the “handmade” section of my closet. I couldn’t toss or donate because “I made that!” I even moved then from out apartment to our new house, and lovely rehung them in my closet. All the while, knowing that I would likely never wear most of it.
Then, Suzanne and I started talking patterns…A LOT! During these talks, we realized we both had a lot in our closets that just wasn’t practical to our daily lives. This gave me the push to clear out my stuff. It also made my sewing mission this year to sew items that I not only love, but that are tailor fit for me! Enter Winter Wear Designs Wardrobe Essentials Collection! The Classic Shell was one of the first releases in this awesome collection!
It is made for woven apparel fabrics, but I didn’t have any in my gigantic stash of fabrics that was love-so I couldn’t sew one…or could I?!?!
YES! I made a few alterations and made one out of knit! it is so comfortable and I know it will be worn a lot! I used a waffle knit that I received in a mystery box from Sincerely Riley. I added a fun trim to the hem for a little pop.
The only alterations I did to this one were to size down and a narrow shoulder adjustment (directions are in the patterns!). I chose to size down in the knit, just because I knew I would want more negative ease than the woven and that the knit would likely stretch a but while wearing.
On to my other two tops! I made both a woven and a knit Omega. The woven was again from a mystery box from Sincerely Riley. I made it towards the end of last year, but it never got blogged or really shared much, as the holiday season took over! It is a well loved shirt in my rotation of “wear every week” shirts! I didn’t make any alterations to the woven version, but the next ones will have the narrow shoulder adjustment for a more tailored fit.
For the knit, I did a lace overlay on the front yoke, along with a narrow shoulder adjustment. This Art Gallery fabric, that I have been hoarding, was bought from Whimsical fabrics a couple years ago!  After sewing it, I put it on and had these weird “wings” in the armpit area. I ended up turning it right side out and pinning it to fit how I wanted, then took it back to the sewing machine and tool off a triangle of fabric starting at the sleeve seam and tapering down into the side seam. It fits so much better!
So, do you sew a tailored wardrobe or do you just “sew to sew”? I am working hard to make sure that I check my measurements every month (I take new ones for the kids, why not myself?), learning about more personal alterations, learning how I like my clothes to fit, and learning to SEW myself some Self Love. I hope this inspires you to sew clothes that you love and that fit you well, whether you need s FBA/SBA, narrow shoulder adjustment, or just need to lengthen or shorten something to fit YOU!
To kick your sewing off right, Boho Fabrics has teamed up with me to give away an awesome prize bundle.  We’ve got a mystery bundle of fabric from Boho paired up with two sets of the Classic Shell and Omega patterns (one for you and one for a friend – because it is always more fun to share the love!)  This prize is open to everyone!!!!  International entrants will need to pay shipping for fabric.
ENTER HERE
Happy Sewing!
Check out each stop on the tour:
Posted on Leave a comment

Wendybird Blog tour Round up and winners!

We had so much fun sharing our versions of the Wendybird dress with you! I loved seeing all the different options and the vision of each of the bloggers come to life! Which was your favorite?

This slideshow requires JavaScript.

I love the hood add-on and the dolly & me sets! I already have a long list of dresses I want to sew!

On to our winners!
Connected By a Thread: Janet Naumann
Pattern Revolution: Kim Korstjens
Once upon a Sewing Machine: Molli Glowacki
Stitch Upon a Time: Destinee Plagerman
Sewn at Seams: Elizabeth Goertz
All Things Katy: Robynne L
Handcrafted by Red: Stephanie Thomas

Congratulations to our winners! Be sure to watch your e-mail if your name is above! You won a free pattern from Stitch Upon a time!


In case you missed any of the stops on the tour, you can find them below!

Larissa from Connected By a Thread
Rebekah from Pattern Revolution
Rachel Nelson from Once upon a Sewing Machine
Jennifer from Stitch Upon a Time
Tasha from Sewn at Seams
Heather from All Things Katy
Rachel from Handcrafted by Red

You can pick up your copy of the Wendybird Dress if you haven’t already! Be sure to share your version in the SUAT Facebook group!

Posted on 31 Comments

Wendybird Dress Blog tour- Stitch Upon a Time

I was approached a couple weeks ago about a coordinating a blog tour. This was a new to me designer, as I don’t have a little girl at home anymore (mine is 15). I agreed, knowing that I may not have a model, or that I would be sewing and shipping to friends on the East coast like I usually do! Then in stepped my friends youngest! I knew she would look adorable in this dress! She didn’t disappoint either!

The Wendybird Dress by Stitch Upon a Time is an adorable knit dress with a fun panel option for some extra twirl! The girls will love to twirl in it!


I sewed a size 8 with a 10 length, which fell just above her knees. Since I could print using the layers function, I was able to print out just the 2 sizes I needed to merge for the perfect fir! I put the skirt panel on the opposite side of the directions, because I cut the pieces with my fabric facing down and the pattern pieces facing up, so if you want to have it on the same side as the directions, make sure the fabric and pattern pieces are both facing up (or down)! From printing to hemming, it took me less than an hour to sew both dresses.

Pattern Details:

13 sizes included: Newborn to size 12.
Individual layers– print only the size you need!
Also included is an A0 file for shop printing!
Four sleeve styles
Two neck options
Three skirt options
Cuff or hem sleeve options


In addition to this adorable knit dress, Jennifer is also working on the doll pattern! It should be releasing soon! I couldn’t help but sew up a matching dress! They look so sweet together!

Be sure to visit all the blogs for the tour!

Jan 24th: Larissa from Connected By a Thread
Jan 25th: Rebekah from Pattern Revolution
Jan 26th: Rachel Nelson from Once upon a Sewing Machine
Jan 27th: Jennifer from Stitch Upon a Time
Jan 28th: Tasha from Sewn at Seams
Jan 29th: Heather from All Things Katy
Jan 30th: Rachel from Handcrafted by Red

You can pick up your copy of the Wendybird Dress for 25% off now through Jan 31st, it is already marked down on the site! Be sure to share your version in the SUAT Facebook group! Comment below with your favorite Stitch Upon a time pattern and one lucky winner from each blog will be announced when the tour wraps up on Jan 31st!